How to Display, Sort, and Export Custom Event Fields in Dynamics 365 Customer Insights – Journeys
In previous posts, I’ve covered the basics of working with custom fields for events:
- https://sjoholt.com/custom-fields-for-customer-insights-events/
- https://sjoholt.com/custom-fields-in-dynamics-customer-insights-journeys-real-time/
After implementing the new out-of-the-box (OOTB) feature, I often hear this feedback:
“We want an easy way to view specific custom fields, sort them as we like, and export fields like allergy information.”
Unfortunately, OOTB features don’t cover this yet. So, let’s roll up our sleeves and build a solution using a custom table and Power Automate.
The Challenge
Event registration data is stored in Marketing Field Submissions. For an option set, the field msdynmkt_details contains both the field label and the value label.

For text fields, msdynmkt_fieldvalue holds the actual input.

Our goal:
- Collect these values
- Store them in a structured way
- Make them easy to filter and export
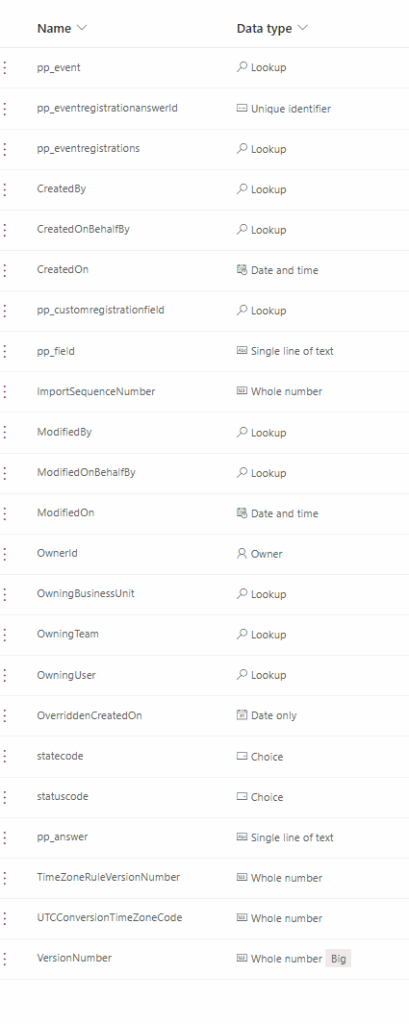
Step 1: Create a Custom Table
Set up a simple table with:
- Field (text)
- Answer (text)
- Event (lookup to event entity)
- Event Registration (lookup to registration entity)
This gives us a clean structure to store each submitted field.
Step 2: Build the Power Automate Flow
Here’s a overview of the logic
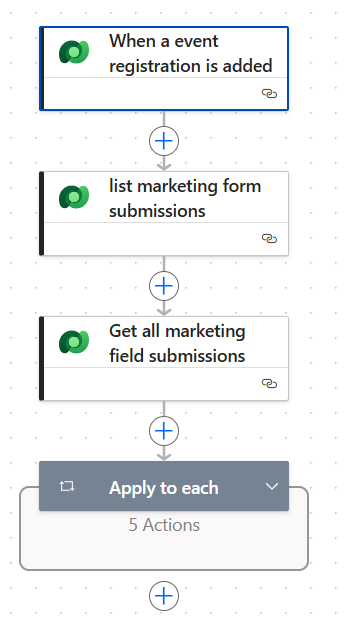
Trigger
- When an event registration is added to Dataverse.
List Actions
- List Marketing Form Submissions
Filter:_msdynmkt_eventregistration_value eq @{triggerOutputs()?['body/msevtmgt_eventregistrationid']} - Get Marketing Field Submissions
Filter:_msdynmkt_marketingformsubmissionid_value eq @{first(outputs('list_marketing_form_submissions')?['body/value'])?['msdynmkt_marketingformsubmissionid']}
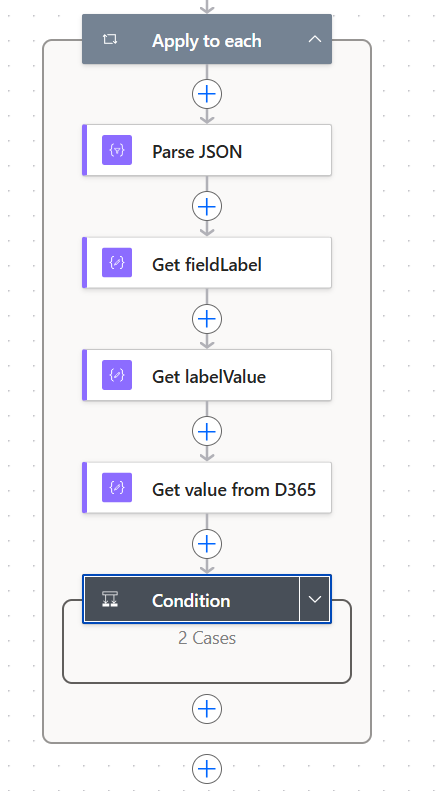
This will give us a JSON in the field msdynmkt_details which we are going to parse and for easy error handling and to be able to view what happens I’m also including three compose actions for you to be able to view the data for each run in a simple way.
Parse JSON Schema
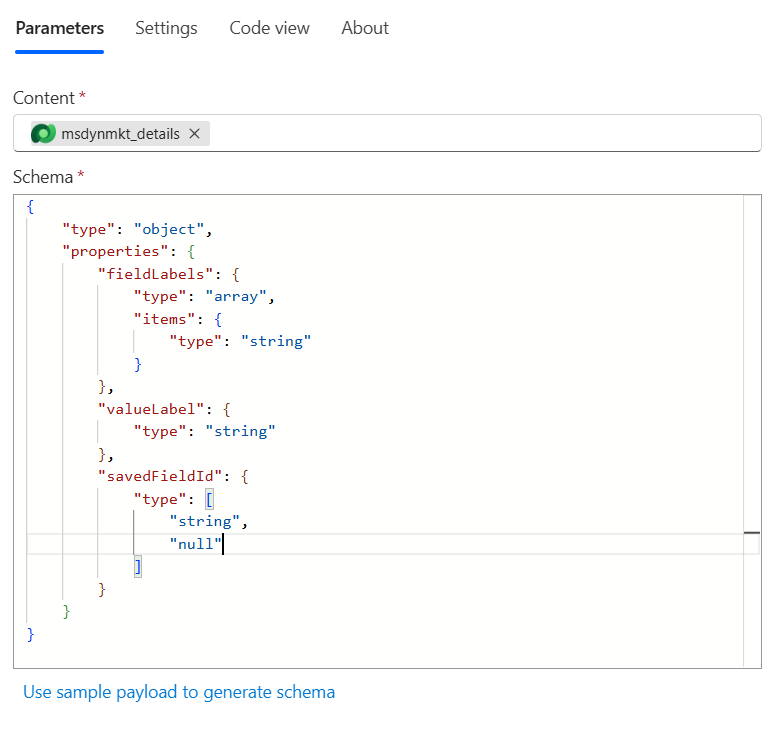
Here is the Schema and functions used for the different actions:
{
    "type": "object",
    "properties": {
        "fieldLabels": {
            "type": "array",
            "items": {
                "type": "string"
            }
        },
        "valueLabel": {
            "type": "string"
        },
        "savedFieldId": {
            "type": [
                "string",
                "null"
            ]
        }
    }
}
Expressions
- Get fieldLabel
@{if(empty(body('Parse_JSON')?['fieldLabels']),'',body('Parse_JSON')?['fieldLabels'][0])} - Get labelValue
@{coalesce(body('Parse_JSON')?['valueLabel'],'')} - Get value from D365
@{items('Apply_to_each')?['msdynmkt_fieldvalue']}
Optional: Handle Lookups
The last condition is not mandatory but something i introduced since I had a lookup to account and wanted the accountname instead of the ID in value, so it checks if the action «Get value from D365» contains ‘/accounts’ and if yes follows the yes branch, I’ll include this branch also – but as stated it’s not mandatory to use.
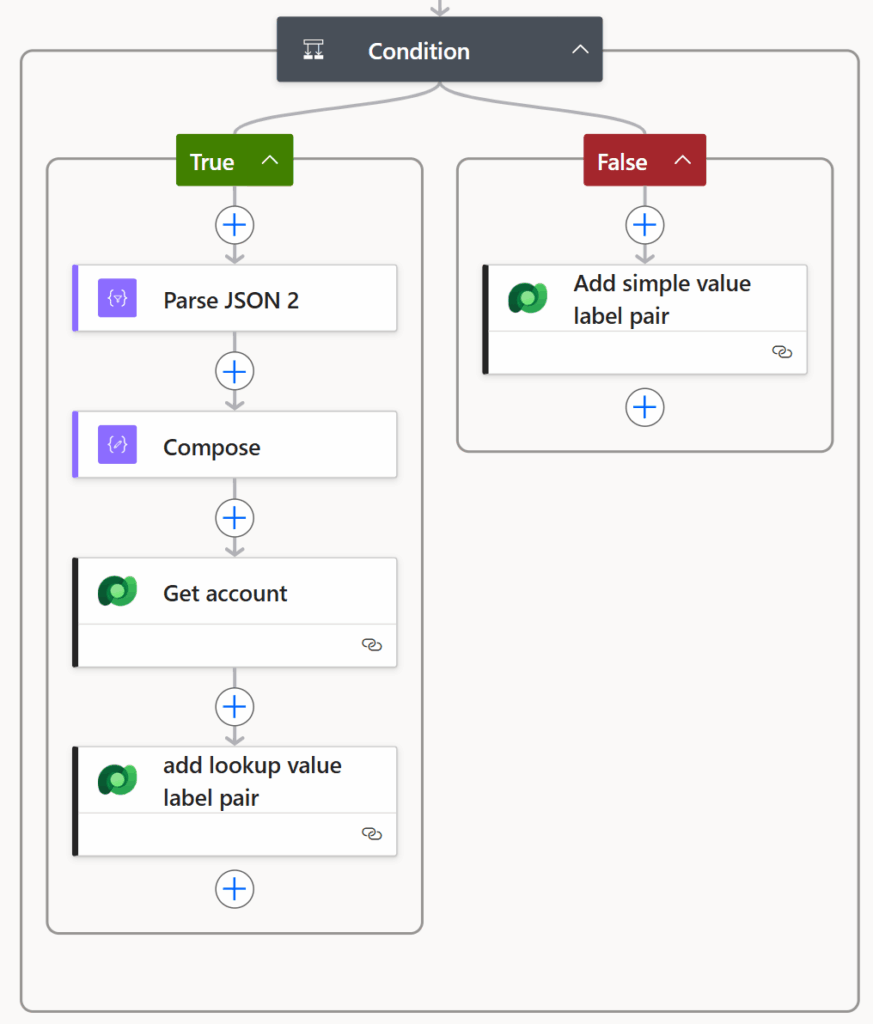
Setting values
For the false branch I add a row to the newly created table with the following values, depening on labelValue contains info or not it will either use labelValue or D365 value for the answer column.
Field: @{outputs(‘Get_fieldLabel’)}
Answer: @{if(equals(outputs(‘Get_labelValue’),»),outputs(‘Get_value_from_D365’),outputs(‘Get_labelValue’))}
Event: /msevtmgt_events(@{triggerOutputs()?[‘body/_msevtmgt_eventid_value’]})
Eventregistration: /msevtmgt_eventregistrations(@{triggerOutputs()?[‘body/msevtmgt_eventregistrationid’]})
And for the yes-branch
Parse JSON 2:
Content: @{outputs(‘Get_value_from_D365’)}
Schema:
{
    "type": "object",
    "properties": {
        "Id": {
            "type": "string"
        },
        "LogicalName": {
            "type": "string"
        }
    }
}
Compose: @{body(‘Parse_JSON_2’)?[‘Id’]}
Get Account:
Row ID: @{body(‘Parse_JSON_2’)?[‘Id’]}
add lookup value label pair:
Field: @{outputs(‘Get_fieldLabel’)}
Answer: @{outputs(‘Get_account’)?[‘body/name’]}
Event: /msevtmgt_events(@{triggerOutputs()?[‘body/_msevtmgt_eventid_value’]})
Eventregistration: /msevtmgt_eventregistrations(@{triggerOutputs()?[‘body/msevtmgt_eventregistrationid’]})
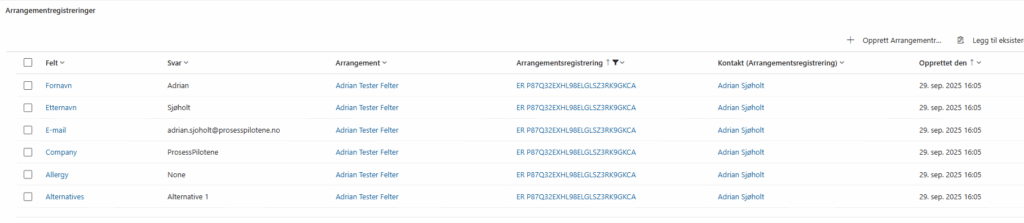
The Result
You now have a simple view on the event with all registration details—one row per field. This makes filtering and exporting easy.
Tips to Make It Even Better
- Add error handling: Use Compose actions to debug and monitor flow runs.
- Include conditional logic: For lookups or special field types.
- Consider security: Ensure only authorized users can access the custom table.
Why This Matters
This approach gives you flexibility that OOTB features don’t yet provide:
- Custom sorting
- Easy export
- Full visibility of registration data
Hopefully Microsoft will also provide this functionality in the future, but as of now you atleast can create your own workaround